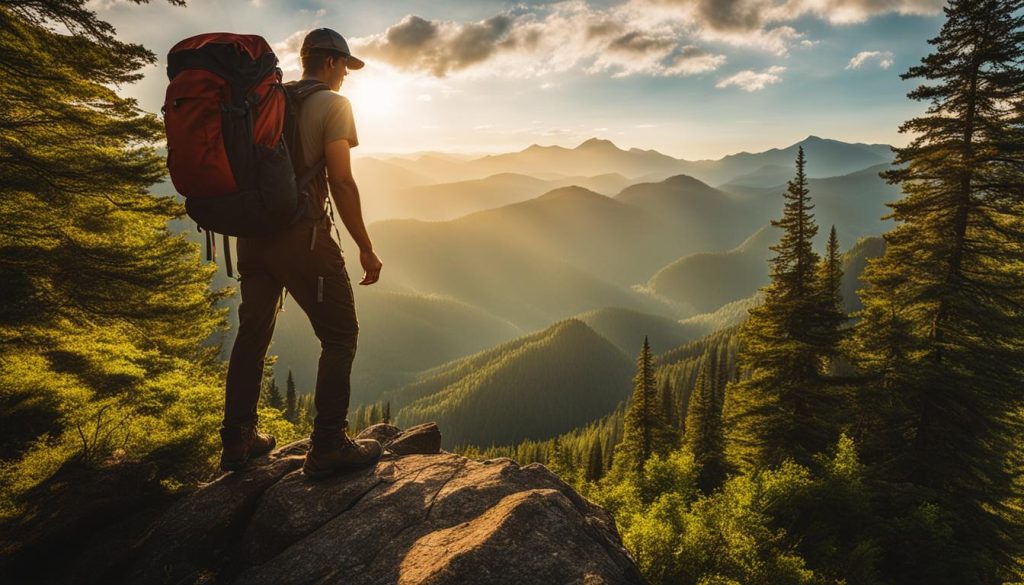
Welcome to our guide on hiking photography tips! If you love outdoor photography and nature, capturing stunning photos of your hiking adventures is a must. In this article, we will provide you with valuable tips and techniques to enhance your hiking photography skills and create memorable images.
Whether you’re a beginner or an experienced photographer, these tips will help you capture the beauty of nature in all its glory. So grab your camera, lace up your hiking boots, and get ready to embark on a picturesque journey!
Read: Unforgettable Adventures: Hiking with Friends and Family
Key Takeaways:
- Explore different camera settings like aperture, shutter speed, and ISO sensitivity to understand their impact on your hiking photos.
- Experiment with composition techniques such as the rule of thirds, depth of field, perspective, and color to make your hiking photos visually appealing.
- Master the art of capturing lighting in hiking photography by utilizing natural light, shooting during the golden hour, and adapting to challenging lighting conditions.
- Learn how to tell a captivating story through your hiking photos by capturing detail shots, wide landscapes, and action shots.
- Cultivate patience and be observant to capture those breathtaking moments in hiking photography.
Understanding Your Camera and Basic Camera Settings
When it comes to hiking photography, understanding your camera and basic camera settings is essential for capturing stunning photos of your adventures. By familiarizing yourself with aperture, shutter speed, and ISO sensitivity, you can have more control over the outcome of your images and create visually captivating shots.
Aperture
Aperture refers to the opening of your camera’s lens through which light enters. It is represented by an f-stop number, such as f/2.8 or f/16. A lower f-stop (e.g., f/2.8) results in a larger aperture, allowing more light to enter the camera and creating a shallow depth of field. This is ideal for isolating your subject and blurring the background.
On the other hand, a higher f-stop (e.g., f/16) results in a smaller aperture, allowing less light and increasing the depth of field, resulting in sharpness throughout the image. Experiment with different aperture settings to achieve the desired effect for your hiking photos.
Shutter Speed
Shutter speed is the duration for which your camera’s shutter remains open, determining the amount of light that reaches the camera’s sensor. A fast shutter speed, such as 1/1000th of a second, freezes motion and is ideal for capturing fast-paced action shots during your hike. On the other hand, a slower shutter speed, such as 1/30th of a second, allows more light and can create motion blur, adding a sense of movement to your images. Adjusting the shutter speed can help you capture the dynamic nature of hiking and convey a sense of adventure.
ISO Sensitivity
ISO sensitivity measures the camera sensor’s ability to capture light. A low ISO (e.g., ISO 100) is suitable for well-lit environments, reducing image noise but requiring more light to properly expose the image. Conversely, a high ISO (e.g., ISO 1600) is helpful in low-light situations, but it may introduce grain or noise to the image. Finding the right ISO setting for your hiking photos depends on the lighting conditions and the level of noise you’re willing to accept. Experiment with different ISO settings to achieve the optimal balance between image quality and exposure.
Understanding these basic camera settings and how they interact with each other will empower you to capture stunning hiking photos. Take the time to practice and experiment with different settings during your hikes, and soon you’ll be able to create images that truly capture the beauty and excitement of your adventures.

Composition Tips for Hiking Photography

When capturing stunning photos of your hiking adventures, understanding composition techniques can take your photography to the next level. By applying the rule of thirds, considering depth of field, experimenting with perspective, and using color effectively, you can create visually appealing and captivating images.
Rule of Thirds
The rule of thirds is a fundamental principle in photography composition. Imagine dividing your frame into a grid of nine equal squares. By placing your subject along the intersecting lines or at the points where the lines meet, you can add balance and visual interest to your photos. This technique encourages viewers’ eyes to naturally move around the image, creating a more dynamic and engaging composition.
Depth of Field
Depth of field refers to the range of sharpness in a photograph, from the foreground to the background. By controlling your aperture settings, you can achieve a shallow depth of field, where the subject is in focus while the background is beautifully blurred. This technique allows you to isolate your subject and create a sense of depth, drawing viewers’ attention directly to what you want them to see.
Experimenting with Perspective
One way to add impact to your hiking photos is by experimenting with different perspectives. Instead of capturing images from eye level, try crouching down low or finding an elevated vantage point. Changing your perspective can provide a fresh and unique view of your surroundings, making your photos stand out and immersing viewers in the scene.
Using Color Effectively
Color plays a vital role in photography composition. By paying attention to the colors present in your frame, you can create harmonious and visually appealing images. Consider how different colors interact with each other and how they contribute to the mood and atmosphere of your photo. Experiment with contrasting colors or use a single dominant color to create a focal point and evoke specific emotions in your audience.
By applying these composition tips to your hiking photography, you can elevate your images and capture the essence of your outdoor adventures in a visually captivating way.
Mastering Lighting in Hiking Photography
When it comes to capturing stunning hiking photos, understanding and mastering lighting is essential. The right lighting can enhance the beauty of nature and create captivating images. In this section, we will explore different lighting conditions that hikers often encounter and provide tips on how to make the most of each situation.
1. Natural Light
Natural light is a photographer’s best friend. It provides a soft and flattering illumination that can bring out the textures and colors of the scenery. When shooting with natural light, try to avoid harsh shadows by positioning yourself and your subject in areas where the light is diffused or filtered through foliage. Early morning and late afternoon are ideal times for shooting as the light is softer and warmer.
2. The Golden Hour
The golden hour, which occurs during the first and last hour of sunlight, is a magical time for photography. The warm, golden tones of the light can create a beautiful and ethereal atmosphere in your hiking photos. During this time, the low angle of the sun also creates long shadows and adds depth to your images. Make sure to plan your hikes and photography sessions accordingly to take advantage of this magical lighting.
3. Harsh Midday Light and Overcast Days
Hiking adventures often take us to places where midday light can be harsh and challenging. In such situations, it’s important to adapt your photography techniques. For example, you can look for areas of shade or use a diffuser to soften the light. On overcast days when the light is flat and diffused, embrace the opportunity to capture moody and atmospheric shots. Experiment with different angles, compositions, and subjects to create visually compelling images.
| Pros | Cons | |
|---|---|---|
| Natural Light | Soft illumination, brings out textures and colors | Risk of harsh shadows, requires careful positioning |
| The Golden Hour | Creates warm, ethereal atmosphere; adds depth with long shadows | Limited time frame, requires planning |
| Harsh Midday Light | Opportunity to experiment with shadows and highlights | Potential for overexposure and harsh shadows |
| Overcast Days | Moodier, atmospheric shots; diffused light | Limited contrast and flat lighting |
Remember, mastering lighting in hiking photography takes practice and experimentation. Take the time to observe and understand how different lighting conditions can affect your photos. By adapting your techniques and utilizing the natural light available, you can capture stunning images that truly showcase the beauty of your hiking adventures.

Telling a Story Through Hiking Photography
When it comes to hiking photography, simply capturing beautiful landscapes is not enough. To create truly compelling images, you must focus on telling a story through your photos. By incorporating different elements and techniques, you can take your hiking photography to the next level and engage your audience in a narrative that goes beyond just a pretty picture.
Detail Shots
One way to add depth and interest to your hiking photos is by capturing detail shots. These close-up images allow you to highlight the unique features of your surroundings and draw your viewers’ attention to the smaller elements that make your hiking adventure special. Whether it’s a vibrant flower along the trail, a fallen leaf on the ground, or the texture of a rock, detail shots can provide a different perspective and enhance the overall story you’re trying to convey.
Wide Landscapes
In contrast to detail shots, wide landscape shots are perfect for capturing the grandeur and vastness of your hiking destinations. These photos showcase the expansive beauty of nature and provide a sense of scale. To capture stunning wide landscapes, consider using a wide-angle lens to encompass more of the scenery and emphasize the depth and scale of the environment. Look for unique vantage points and use leading lines to guide your viewers’ eyes through the image, creating a visual journey that tells a story all on its own.
Action Shots
Hiking is not just about the scenery; it’s also about the experiences and adventures along the way. Action shots can capture the energy and excitement of hiking, adding a dynamic element to your storytelling. Whether it’s a hiker conquering a steep climb, crossing a rushing stream, or pausing to take in a breathtaking view, action shots can convey the emotions and movement of the moment. To freeze motion, use a fast shutter speed, and consider shooting in burst mode to capture a series of images that tell a story through motion.
To create a cohesive and engaging narrative through your hiking photography, it’s essential to incorporate these storytelling elements. Combine detail shots, wide landscapes, and action shots to capture the essence of your hiking adventures and share your unique experiences with the world.
The Power of Patience in Hiking Photography
When it comes to hiking photography, one of the most valuable skills you can develop is patience. The ability to wait for the right moment can make all the difference in capturing stunning photos that truly showcase the beauty of nature. Patience allows you to observe your surroundings, anticipate the perfect lighting conditions or the ideal subject, and ultimately create unforgettable images.
Being patient in photography means resisting the urge to rush and snap photos in a hurried manner. Instead, take the time to carefully compose your shots, adjust your camera settings, and wait for the scene to unfold naturally. By doing so, you can capture the true essence of the environment and convey the emotions evoked by your hiking adventure.
Patience becomes particularly crucial when it comes to waiting for the right moment. Whether it’s the perfect sunrise or sunset lighting, a fleeting wildlife encounter, or a hiker crossing a picturesque trail, being patient allows you to seize these magical opportunities. Remember, nature doesn’t always adhere to our schedules, so it’s important to be adaptable and patient as you wait for these moments to unfold.

Additionally, patience also extends to the post-processing phase. Once you’ve captured your images, take the time to review and edit your photos. Experiment with different adjustments, such as cropping, color correction, or enhancing details, to bring out the best in your shots. This meticulous approach to editing can truly elevate your hiking photos and make them stand out.
In conclusion, patience is a powerful tool in hiking photography. It allows you to wait for the right moment, capture the beauty of nature, and create stunning images that tell the story of your hiking adventures. So, the next time you venture out into the great outdoors with your camera, remember to embrace patience and let the magic unfold.
Practice Makes Perfect in Hiking Photography
In the world of hiking photography, practice truly makes perfect. The more you practice, the better you become at capturing stunning photos of your adventures. It’s through practice that you learn to fine-tune your skills, experiment with different techniques, and develop your own unique style.
Continuous improvement is the key to becoming a proficient hiking photographer. Take the time to review your photos and analyze what works and what doesn’t. Look for areas where you can enhance your composition, lighting, and storytelling. By being critical of your own work, you can identify areas for improvement and make adjustments for your next hiking journey.
Don’t be afraid to step out of your comfort zone and try new things. Challenge yourself to photograph different subjects, experiment with different camera settings, and push the boundaries of your creativity. The more you explore and push yourself, the more you’ll grow as a hiking photographer.
Remember, practice takes time and dedication. Don’t get discouraged if your photos don’t turn out perfectly right away. Embrace the journey of learning and enjoy the process of honing your skills. With each click of the shutter, you’re one step closer to capturing breathtaking hiking photos that truly reflect the beauty of nature.

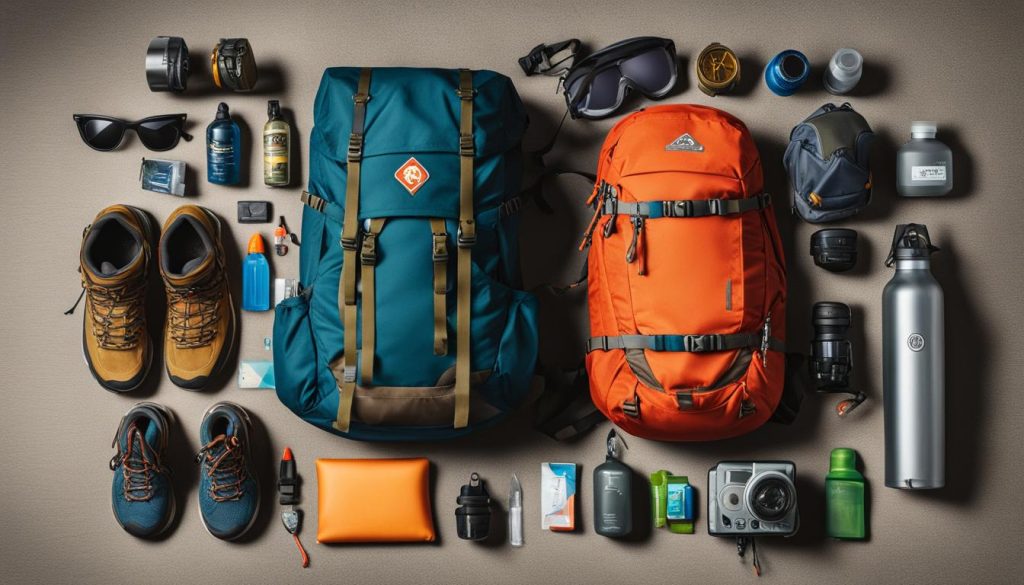
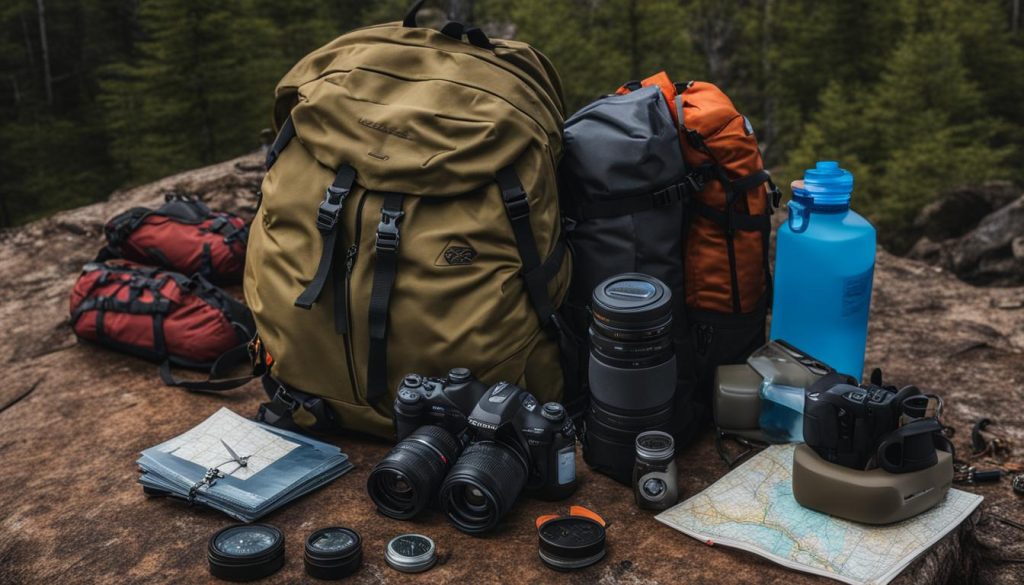
Choosing the Right Gear for Hiking Photography
When it comes to hiking photography, choosing the right gear is essential to capturing stunning photos of your adventures. Your gear should be lightweight, durable, and capable of delivering high-quality images in various lighting conditions. Let’s explore the different camera options and recommended equipment for hiking photography.
If you’re serious about hiking photography and want full control over your settings, a DSLR camera is an excellent choice. With interchangeable lenses and advanced manual controls, DSLRs offer exceptional image quality and versatility. They are also rugged and weather-sealed, making them suitable for outdoor environments.

If you prefer a more compact option without compromising image quality, consider a mirrorless camera. These cameras offer similar capabilities to DSLRs but are more lightweight and portable. Many mirrorless cameras also have advanced autofocus systems and 4K video recording capabilities, making them perfect for capturing fast-paced hiking moments.
For those who prefer a lightweight and pocket-sized option, compact cameras and smartphone cameras are worth considering. Many compact cameras now have impressive features such as manual controls, RAW file support, and telephoto zoom lenses. Smartphone cameras have also come a long way, offering high-resolution sensors, multiple lenses, and the convenience of instant editing and sharing.
| Camera Type | Recommended Camera | Recommended Lens |
|---|---|---|
| DSLR | Nikon D750 | Nikon AF-S NIKKOR 24-70mm f/2.8E ED VR |
| Mirrorless | Sony Alpha a7 III | Sony FE 24-70mm f/2.8 GM |
| Compact | Panasonic Lumix LX100 II | Leica DC Vario-Summilux 10.9-34mm f/1.7-2.8 ASPH |
| Smartphone | iPhone 12 Pro | N/A (Built-in lenses) |
Remember, the gear you choose should ultimately align with your photography goals and personal preferences. Consider factors such as image quality, portability, and budget when making your decision. Investing in a reliable camera and lens combination will greatly enhance your hiking photography experience, allowing you to capture breathtaking moments that will last a lifetime.
Conclusion
Congratulations on completing this guide on hiking photography! Now armed with the knowledge and tips provided, you are well-equipped to capture stunning photos of your outdoor adventures. Remember, the key to improving your skills lies in practice, patience, and a willingness to experiment.
By employing the composition techniques discussed in section 3, such as the rule of thirds, depth of field, perspective, and color, you can elevate your hiking photos to new heights. Additionally, understanding and utilizing different lighting conditions, as explained in section 4, will help you create the perfect mood and atmosphere in your images.
But storytelling is the heart of memorable photography, so don’t forget the importance of capturing detail shots, wide landscapes, and action shots to tell a compelling narrative, covered in section 5. And when it comes to gear, remember to choose the right tools for the job, as detailed in section 8, to ensure you have all the necessary equipment to capture those breathtaking moments.
Now, armed with these hiking photography tips and techniques, it’s time to hit the trails and let your creativity roam free. Embrace the beauty of nature, capture the essence of your hiking adventures, and create images that will transport you back to those unforgettable moments. Happy snapping!
FAQ
Why is hiking photography important?
Hiking photography allows you to capture and preserve the memories of your hiking adventures. It helps you relive those amazing moments and share your experiences with others.
What camera settings should I use for hiking photography?
Understanding the basics of camera settings is crucial for capturing stunning hiking photos. You should familiarize yourself with shutter speed, aperture, and ISO sensitivity to control the exposure and overall look of your images.
What composition techniques can enhance my hiking photos?
Composition is key in creating visually appealing hiking photos. Techniques such as the rule of thirds, controlling depth of field, experimenting with perspective, and using color effectively can make your photos stand out.
How can I make the most of different lighting conditions in hiking photography?
Lighting plays a vital role in photography. Understanding natural light, shooting during the golden hour, and knowing how to work with challenging lighting situations like harsh midday light or overcast days can greatly improve your hiking photos.
How can I tell a story through my hiking photography?
Telling a story through your hiking photos involves capturing different elements of your adventure. Detail shots, wide landscapes, and action shots can all contribute to a cohesive and engaging narrative.
What role does patience play in hiking photography?
Patience is essential in capturing stunning hiking photos. Waiting for the right moment and being observant can make a significant difference in the outcome of your images.
How can I improve my hiking photography skills?
Practice is key in mastering hiking photography. Reviewing your photos, understanding what works and what doesn’t, and continuously refining your technique through practice will help you improve your skills.
What gear should I use for hiking photography?
When it comes to gear, there are many options available. DSLRs, mirrorless cameras, compact cameras, and even smartphone cameras can all be suitable for hiking photography. We recommend using a specific camera and lens combination that is lightweight, durable, and versatile.
What are the key takeaways from this article on hiking photography?
The key takeaways are to practice and experiment with hiking photography, embrace the beauty of nature, and capture stunning photos of your hiking adventures. Continuously improving your skills and enjoying the process will result in amazing images.